Improving the Modus Developer Experience with Integrated API Tools
A look at the Modus API Explorer and adding GraphQL documentation in your Modus functions
As the end of the year approaches, the Hypermode team has been hard at work shipping new features to improve the Modus API framework.
In this post, we’ll take you through two new features for improving your experience of building APIs:
An integrated API explorer in Modus
How to add GraphQL API documentation in your Modus functions
Let’s dive in.
The Modus API Explorer
The Modus API Explorer is a graphical interface that allows you to easily interact with your local endpoint while also displaying documentation from your function comments. It provides a unified view where you can explore, test, and understand your AI functions.
The primary motivation behind creating the API Explorer was to streamline your development workflow. We wanted it to:
Provide immediate feedback to developers while working with Modus
Reduce friction between writing functions and testing them
Make API documentation accessible and automatically generated
Create a natural development experience where testing and documentation integrate directly into the workflow
Let’s dive into how you can get started using the API Explorer.
Getting Started
Start by creating a Modus app. Refer to the Modus Quickstart to install the Modus CLI and create an app.
After the app has been created, run modus dev in your project. Then you’ll find a link to the API Explorer shown in your terminal: http://localhost:8686/explorer. Clicking this link will take you to the API Explorer interface.
Interface Layout
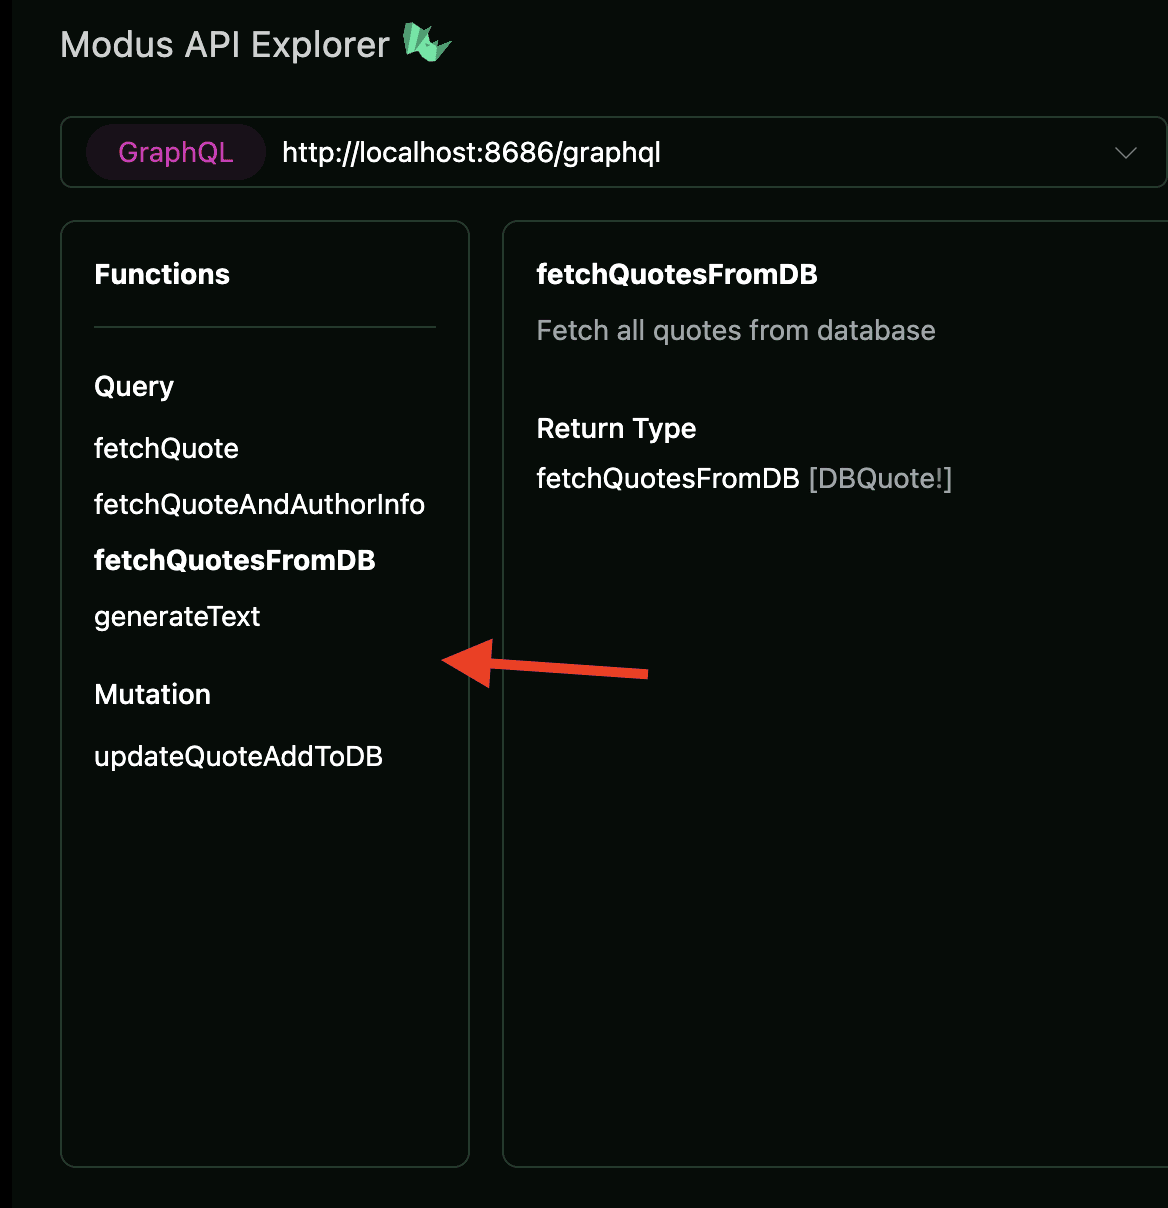
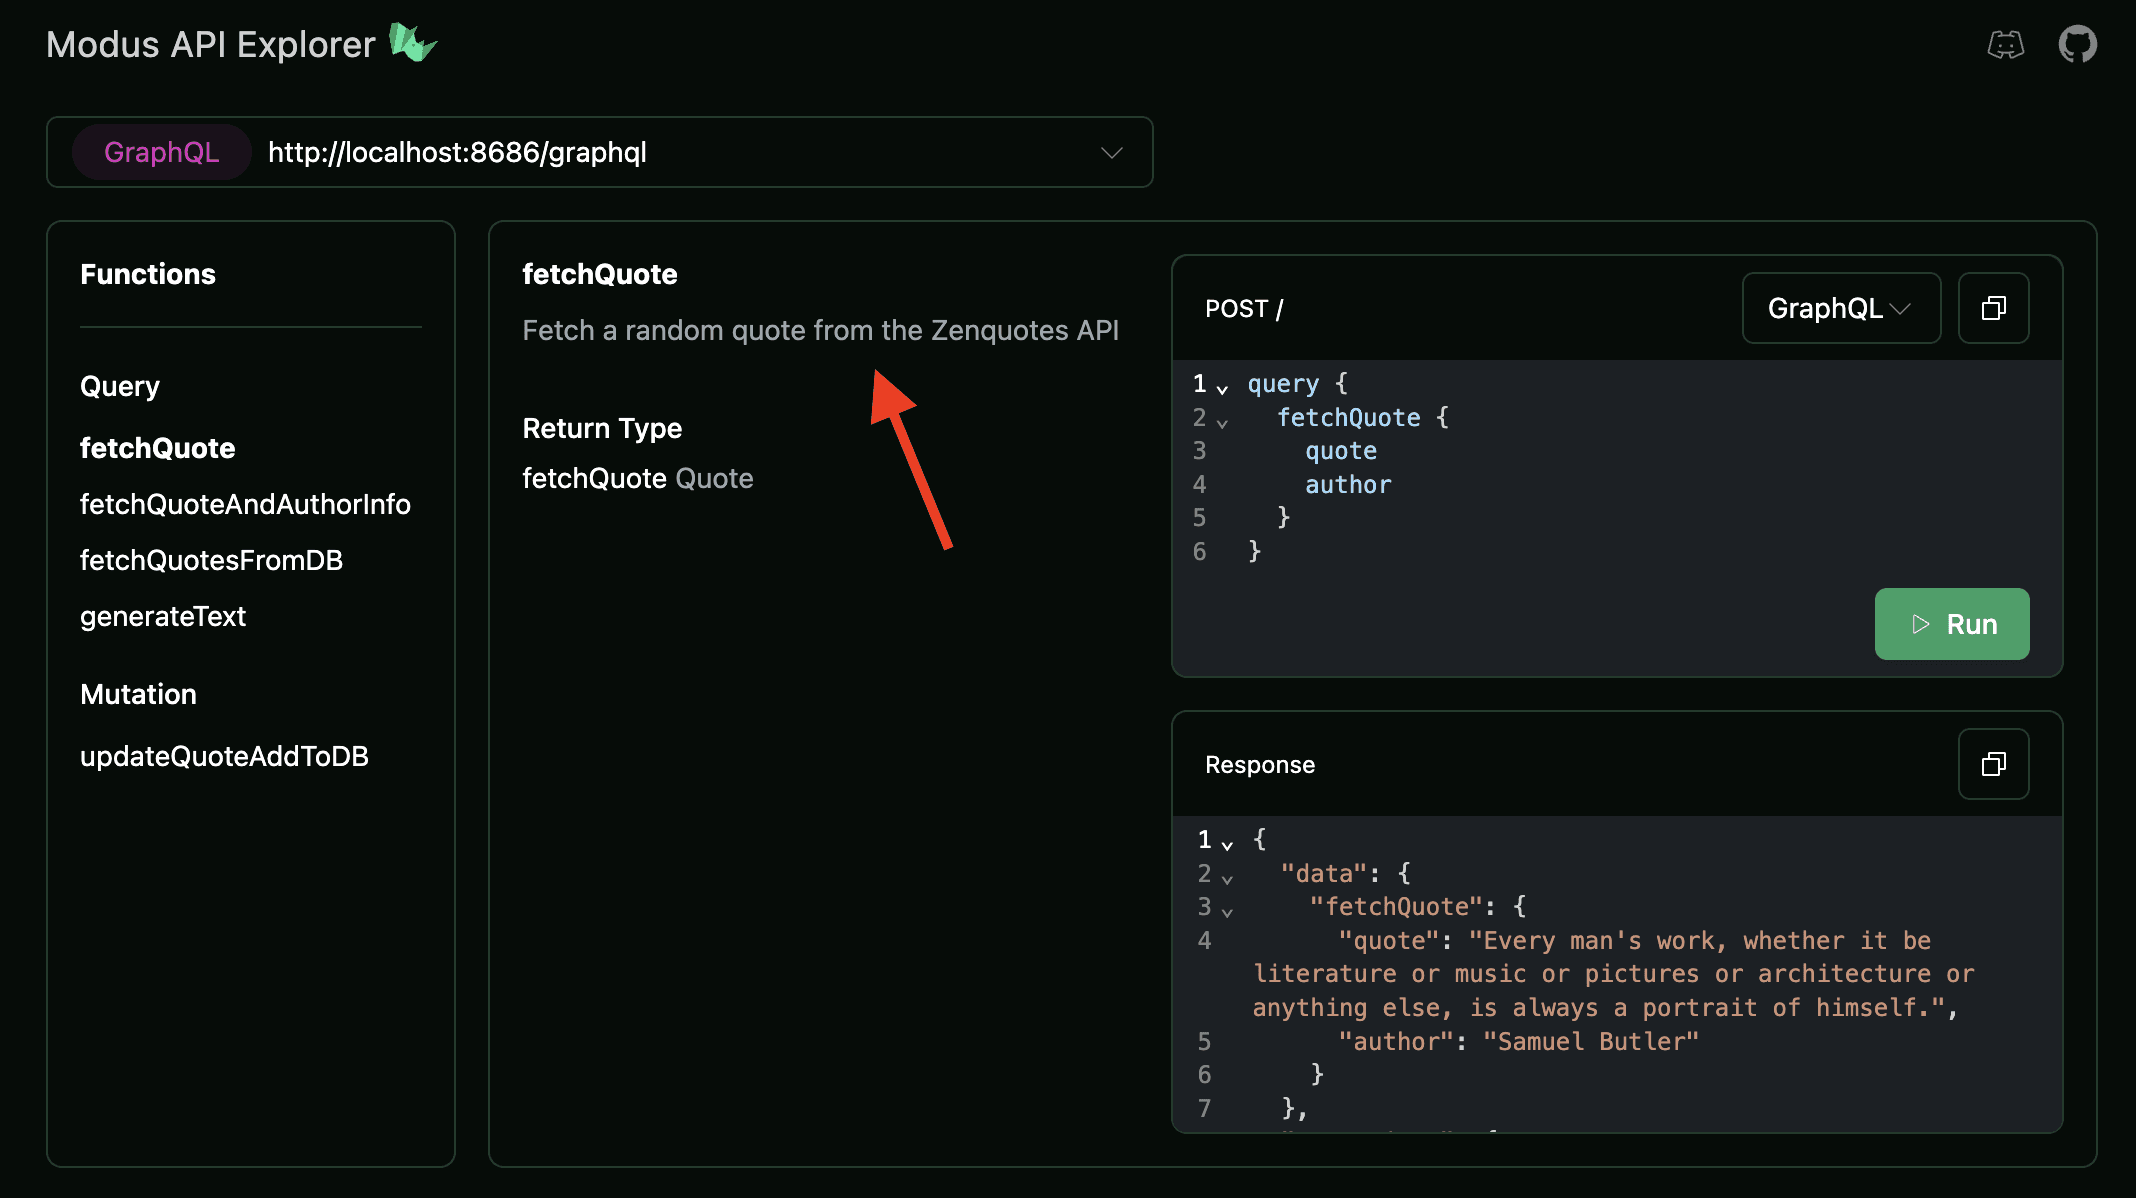
Once you open the API Explorer, you'll see your functions displayed on the left side of the interface. These are all the functions you've created in your Modus app.

When you select a function, its documentation appears in the middle section – this comes from any JSDoc or GoDoc comments you've written alongside your code. See the section below to learn more about the automated GraphQL documentation in Modus functions.

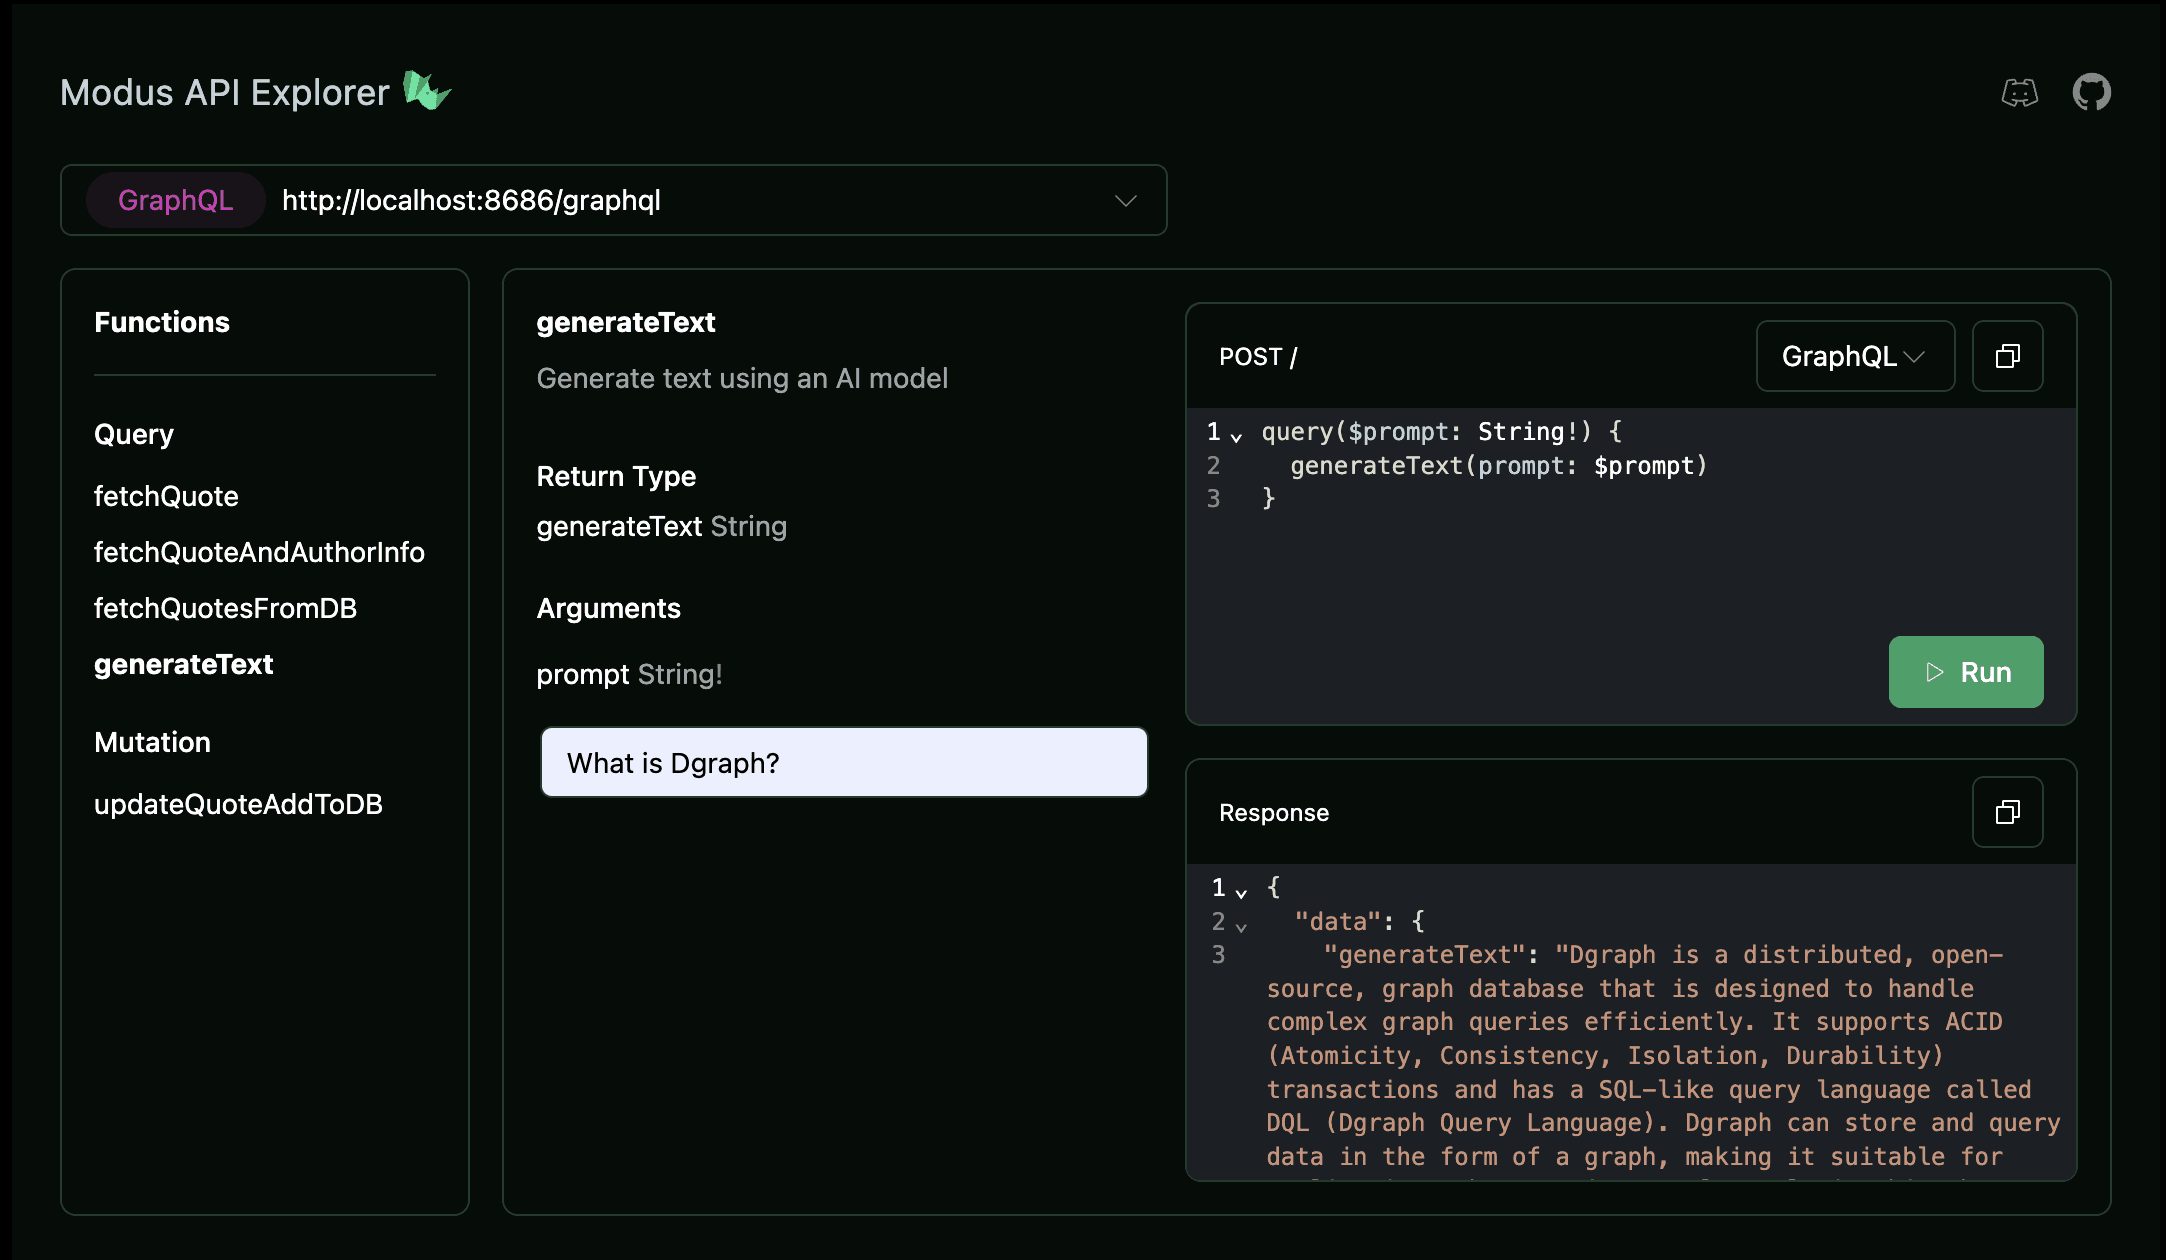
The right side of the interface is where you can interact with your endpoint. It shows both the request (which is automatically generated based on your function) and the response you get back. You can even switch the request format to TypeScript to see how to integrate the endpoint into your application.
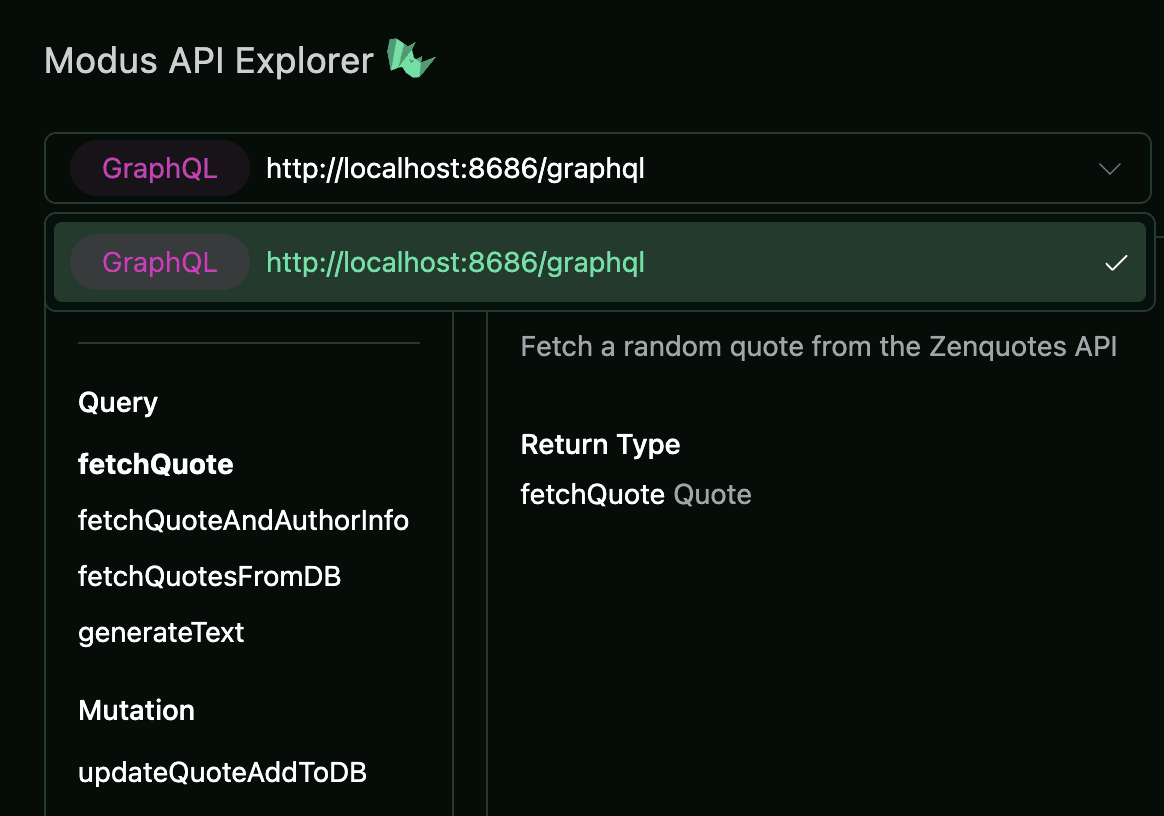
At the top of the Explorer, you'll find a dropdown menu for selecting your endpoint type. Currently, this supports GraphQL endpoints, with plans to expand to REST and other APIs in the future.

Everything in the Explorer is designed to make testing and understanding your API straightforward – you can quickly copy requests and responses, switch between different functions, and see how your documentation renders, all in one place.
Behind the Scenes of the Modus API Explorer
The API Explorer is implemented as a React component built on top of the shadcn component library, which provides a themable interface that can be customized with a prop passed into the component. We leverage GraphQL introspection to understand your API's structure, allowing us to dynamically generate the interactive documentation and request examples.
We package the explorer into the Modus runtime using Vite as our bundler. When you run your local development server, the explorer fetches the endpoints generated by the runtime to populate the interface with your functions and their documentation. The architecture ensures that the explorer stays in sync with your API as you develop.
Automated GraphQL Documentation in Modus Functions
The new GraphQL documentation feature adds descriptions to your functions, types, and other schema elements. Unlike traditional APIs that require both the API’s interface and separate, manually written documentation, Modus integrates the docs directly into the schema. It is self-documenting by design.
Modus even goes one step further: documentation is automatically extracted from the source language.
For instance, a JSDoc comment written for the AssemblyScript SDK is now parsed and embedded into the generated GraphQL schema. This eliminates the need for extra work and ensures that your documentation is always in sync with your deployed code, no version breakages whatsoever.
Since these docs are included in the schema, they’re automatically available to end users in tools such as Postman, GraphQL Playground, or Apollo Studio.
How to Define Your Own GraphQL Docs in Modus
Let’s take a closer look at how you can create your own GraphQL docs in your Modus app. It’s worth noting that Modus supports integrated docs in all available SDKs.
First, you’ll want to create a new project with modus new and get it set up and running. Then, you’ll simply add some comments and run.
For example, in the AssemblyScript SDK, a self-documenting function could look like this:
After running MODUS_DEBUG=true modus dev the resulting GraphQL schema should show up in the terminal as:
Finally, after deploying the API and corresponding schema with Hypermode, those schemas will be digestible by Postman, GraphQL Playground, or any other editor that supports it.
How Modus Uses Types & Signatures When Generating a GraphQL API
When building a project, Modus uses the type information and function signatures from your GraphQL API as the foundation for the generated schema. Modus hooks into the compiler and extracts this information then maps each type to its corresponding GraphQL counterpart, automatically parsing and applying in-code comments to the schema. It then verifies the schema and deploys it.
Conclusion
We hope these new Modus features help you build APIs more effectively. Both the Modus API Explorer and the automated GraphQL documentation were designed to make it easier to build and test APIs with Modus, allowing you to focus on adding features to your app.
Try them out and let us know what you think!
Keep up with every new feature and release: Star the Modus GitHub repo to stay in the loop with every new feature we ship.


